We present another useful feature in Products Sync Master – Import Optimization.
What is Import Optimization?
Previously, the application processed all fields when importing or updating products. With Import Optimization, you can now separate the logic for new products and existing products. This makes the process faster, reduces server load, and gives you more precise control over your data.
In short:
- New products – choose which fields should be imported the first time a product appears.
- Existing products – choose which fields should be updated on already imported products.
For example, you may want to import all fields for new products, but update only stock and price for existing ones.
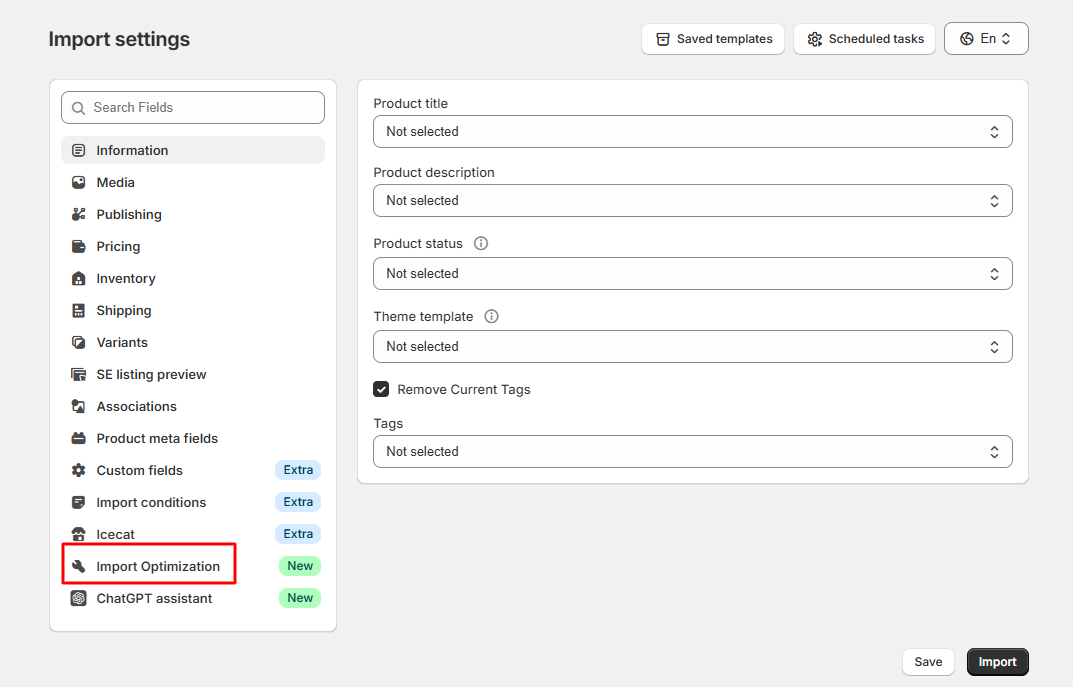
Step 1: Open the Optimization Tab
Go to the Optimization tab in the second step of the import process:
Step 2: Set Import Conditions
First, decide what you want to do with new products and existing products. Open the Import Conditions tab and configure the options:

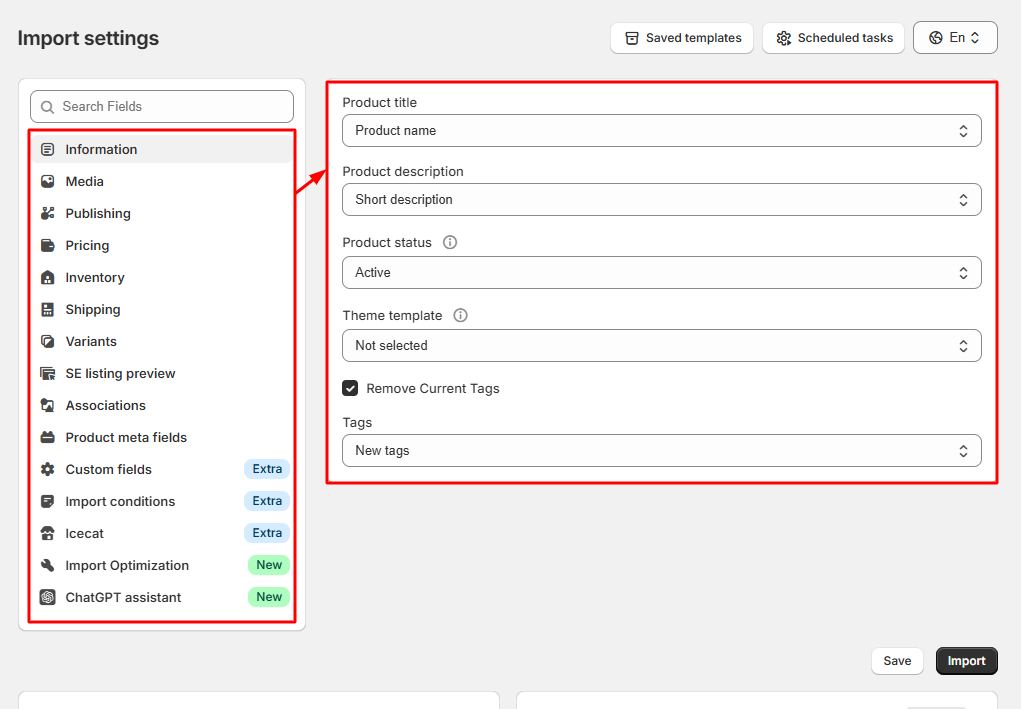
Step 3: Select Fields for Import/Update
After setting the conditions, go to the field selection tabs and choose which fields to import or update:
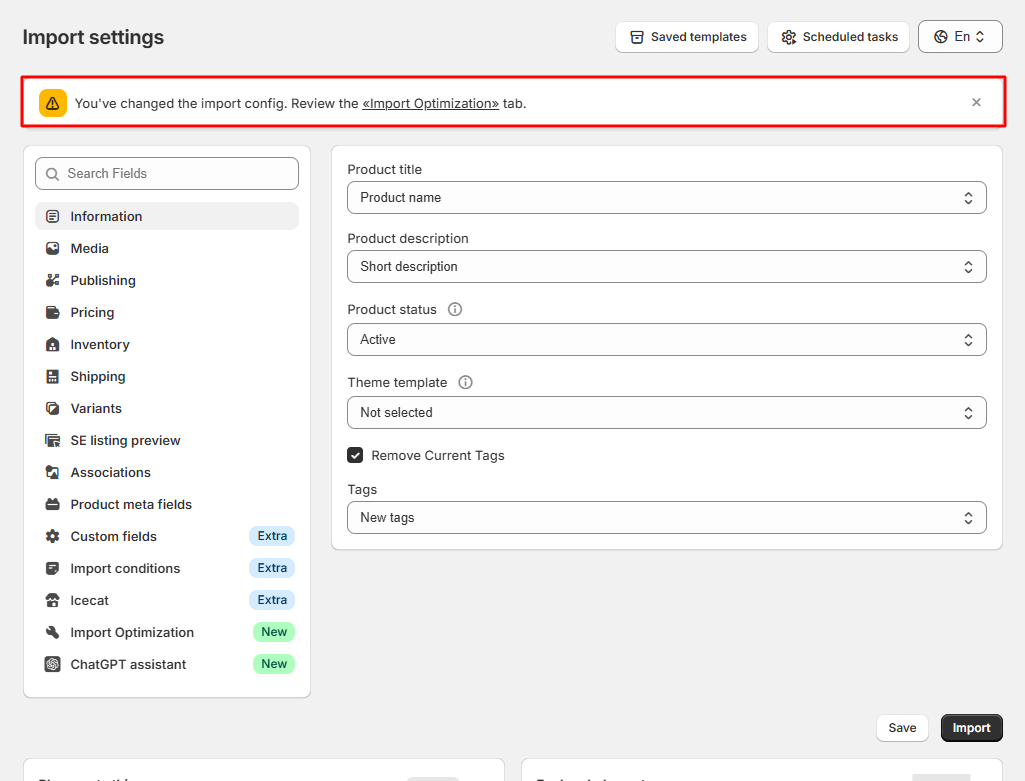
When you change the number of selected fields, the system will remind you to check the Import Optimization tab:
Step 4: Configure Import Optimization
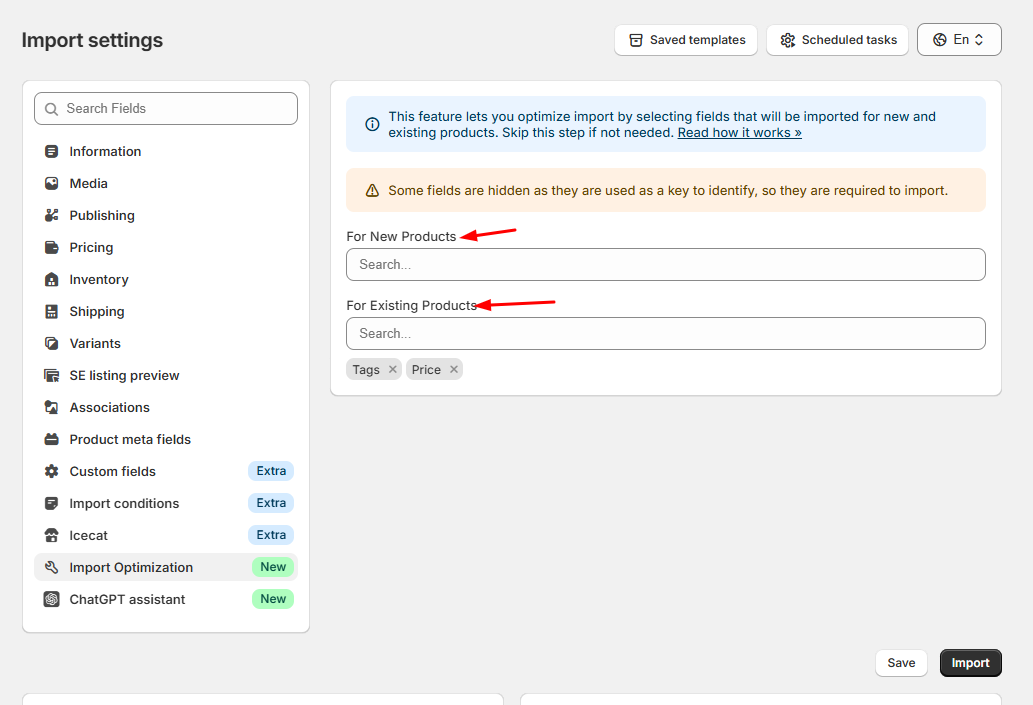
Now, open the Import Optimization tab:
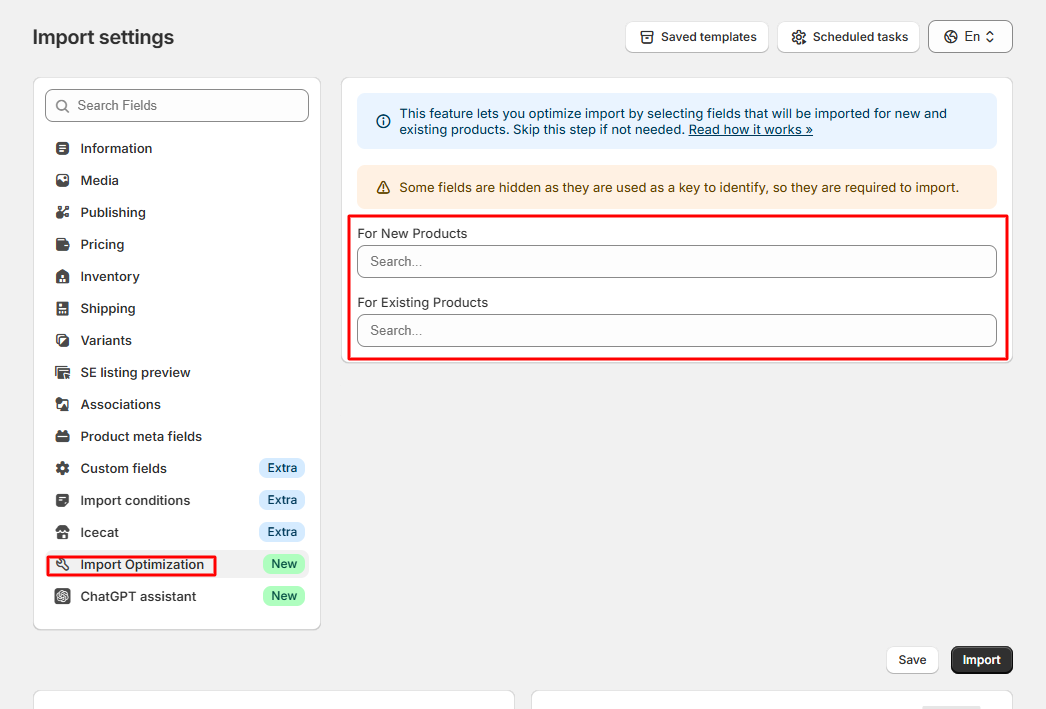
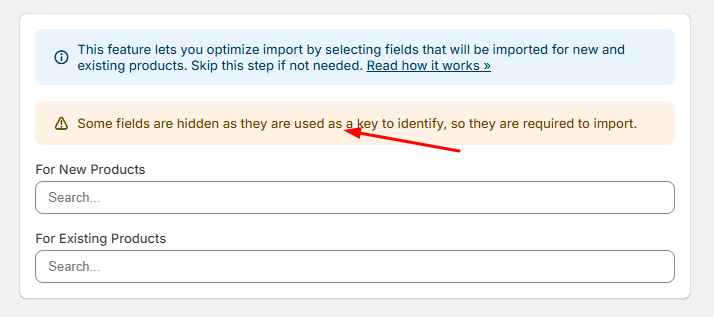
Here you will see that some fields are marked as hidden. These fields are always imported by default, since they are required to identify products and variants:
- Product Name
- SKU
- Barcode (ISBN, UPC, GTIN, etc.)
- Handle
- Meta Field Identification Key
- Variant Options
Step 5: Choose Fields for New and Existing Products
Select which fields should be imported for new products and which should be updated for existing products.
Note: If you do not select any fields in the Import Optimization tab, the app will import all mapped fields by default.
Example:
- New products: import all fields (title, description, images, price, stock, etc.)
- Existing products: update only stock and price
Step 6: Save and Run Import
Once you’ve configured your fields:
- Click Save if you want to store the optimization settings.
- Click Import Now to start the import process immediately.
Note: If you later change the fields in other tabs, the system will prompt you again to review the Import Optimization tab, since the number of fields has changed.
- How to Import Product Variants
- How to Map Collections During Import
- Import Files by Dynamic URL Pattern
- Import Files from FTP with Dynamic File Names
- How to Import Product Translations
- Import Products from Google Sheets
- Error during sync locations - need to update access scopes
- Import Optimization – Control New & Existing Product Updates
- Generate Variants from Option Values
- Import Products from Icecat Catalog
- Import Conditions – Control How Products Are Imported
- Import Product and Variant Metafields
- How to Import Collections
- How to Import Product Categories (Shopify Standard Taxonomy)
