How to Import Product Translations Using ChatGPT Assistance
In this tutorial, we’ll show you how to automatically generate product translations using the ChatGPT Assistant in the Sync Master app.
This feature is especially useful when you have a large number of products without translations and want to quickly generate localized content for your store.
Step 1: Enable Import Translations
On the first import step, enable the switch “Import Translations”. Upload your file and select a key for product identification (for example, product title, handle, or SKU).
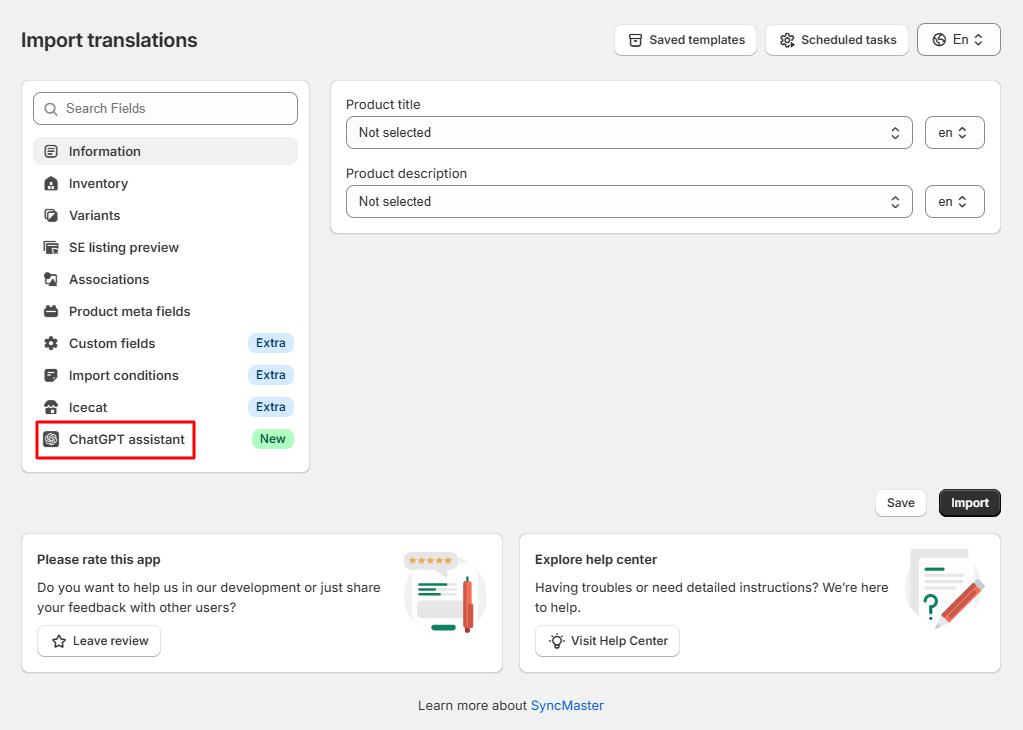
Step 2: Open the ChatGPT Assistance Tab
In the second import step, navigate to the “ChatGPT Assistance” tab:
Step 3: Add Your OpenAI API Key
Paste your OpenAI API Key into the OpenAI Config section:
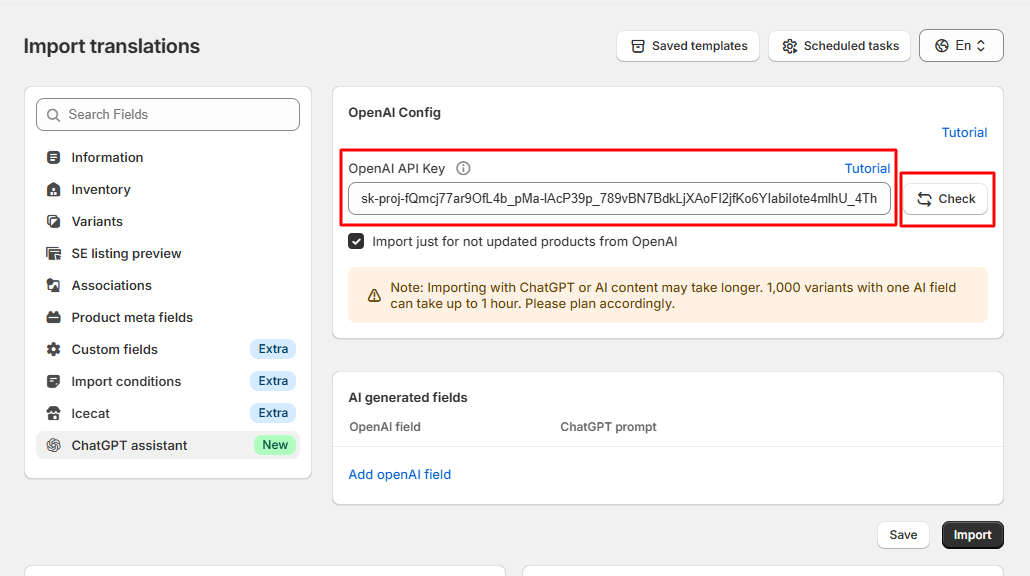
Need help finding your API key? Read this tutorial.
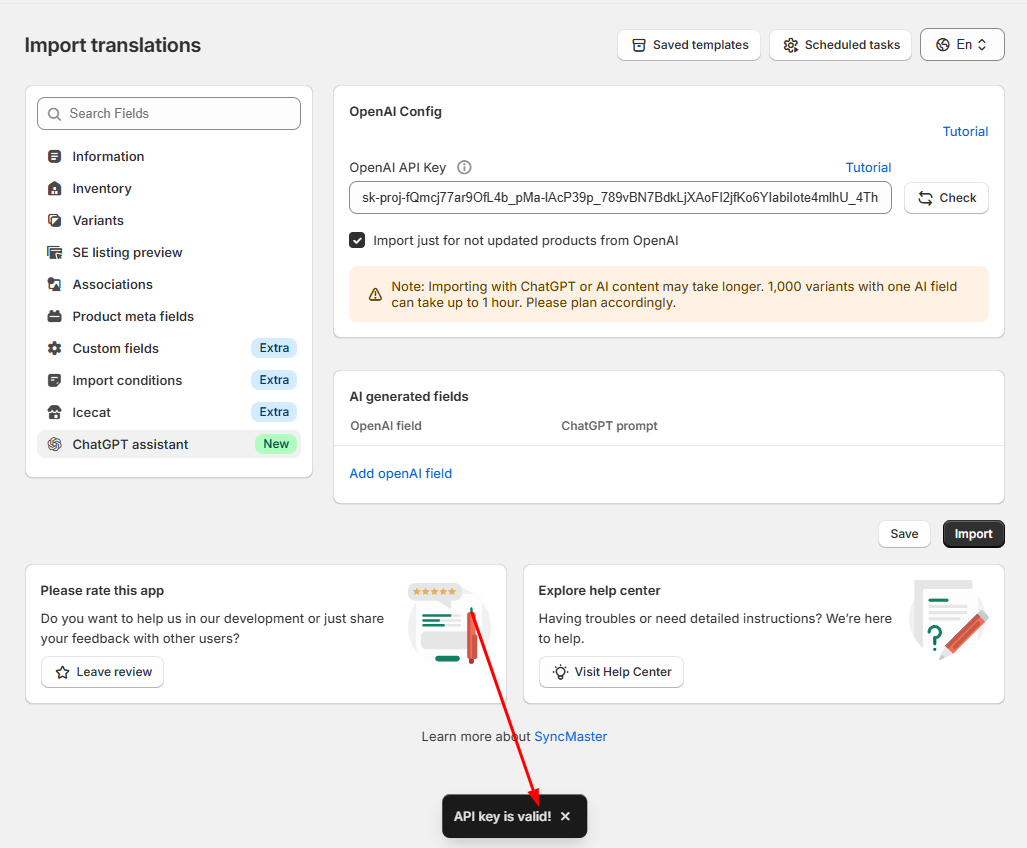
Step 4: Validate the API Key
Click the “Check” button to validate your API key:
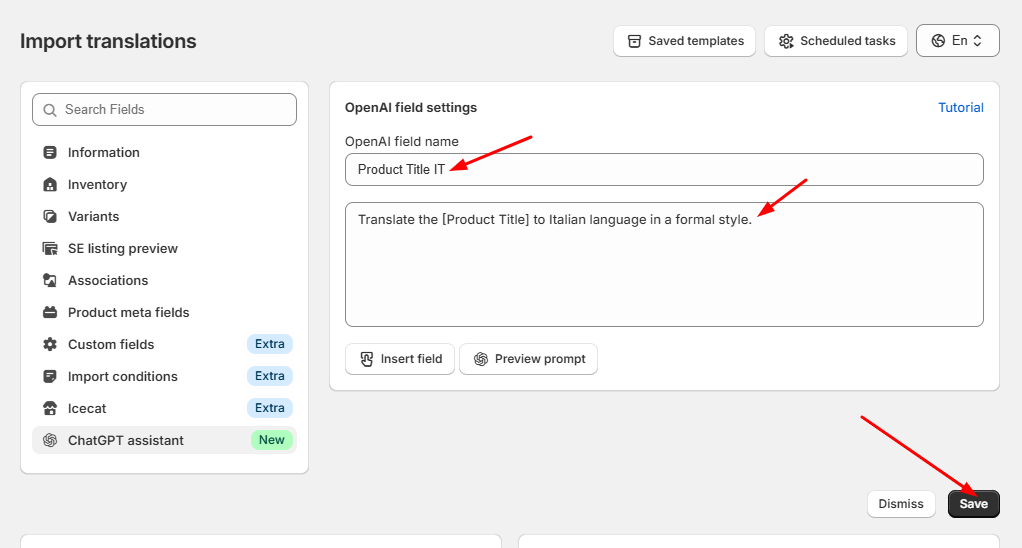
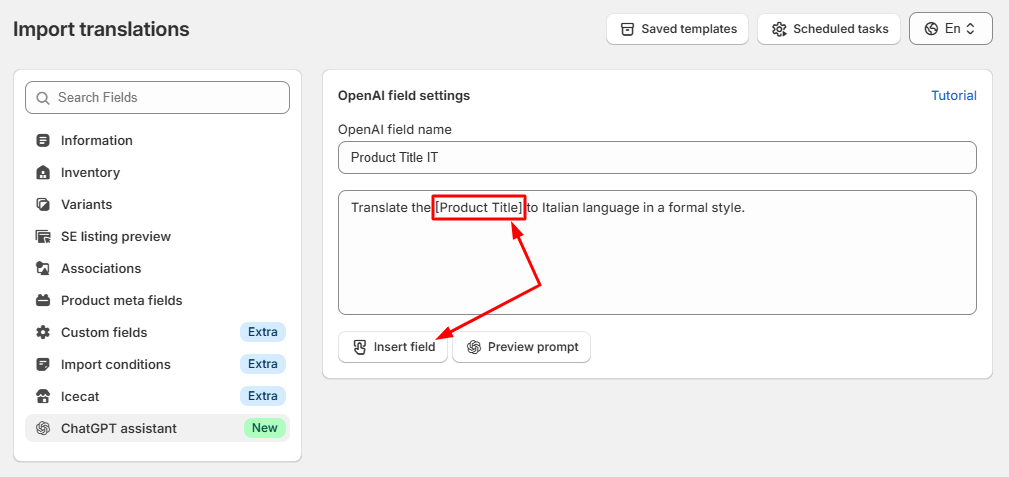
Step 5: Create a New AI Translation Field
Create a new field — for example, “Product Title IT” — and write a prompt for ChatGPT to generate your translation.
For example, to translate the product title into Italian, we’ll use a prompt like this:
Step 6: Use Shortcodes from Your File
You can use shortcodes with field names from your import file. This allows ChatGPT to reference actual data, such as [product_title], [description], or [tags], when generating translations:
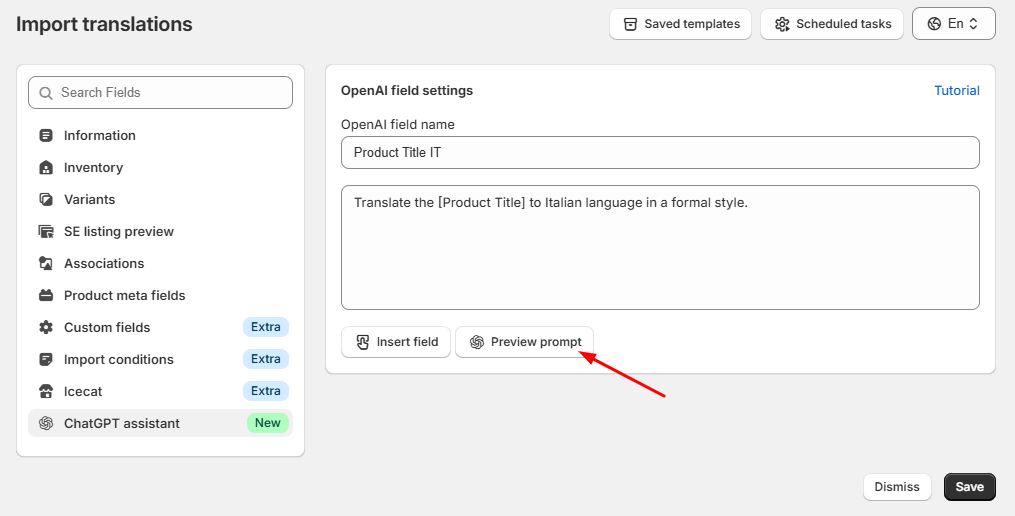
Step 7: Preview Your Translation
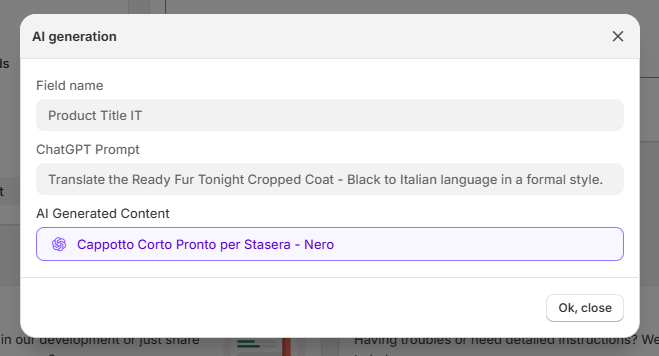
Click the preview icon next to your field to test how ChatGPT generates the translation:
ChatGPT will create a translated version based on your prompt and data:
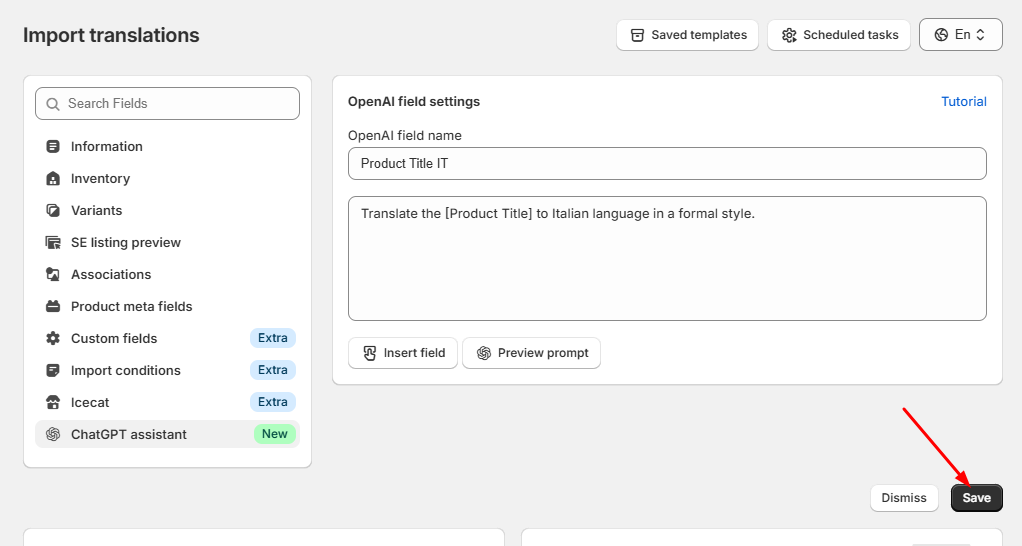
Step 8: Save or Add More AI Fields
Click “Save AI Fields” or add another translation field by clicking the appropriate button:
Step 9: Assign the Translated Field
Go to the “Information” tab and assign your new translation field (for example, “Product Title IT”) to the Product Title field in the Italian language section:
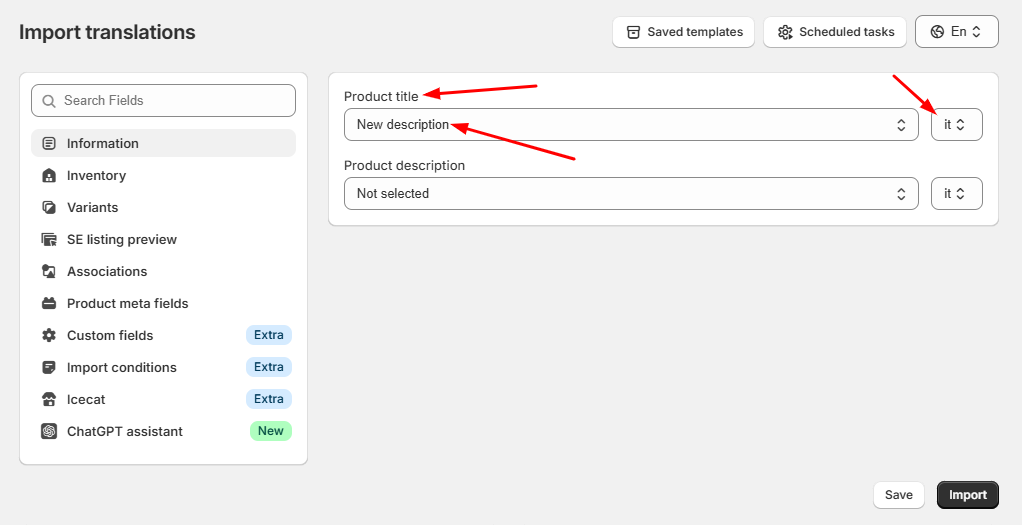
Step 10: Save or Import
Finally, you can save this setup as a template for future use or click “Import Now” to start the translation import process.
That’s it! Your product translations will now be automatically generated and imported using ChatGPT.
