How to Generate Product Descriptions with ChatGPT Assistance
With the ChatGPT Assistance feature in the Sync Master app, you can automatically generate high-quality product descriptions with no manual effort.
This is especially useful if you have a large number of products without descriptions, or if you want to create unique, AI-powered descriptions that include specific data such as the product name, tags, or collection names.
Step 1: Start the Import
Complete the first import step — upload your file and select a product identification key (e.g., SKU, handle, or title).
Step 2: Go to the ChatGPT Assistance Tab
In the second step of the import process, navigate to the «ChatGPT Assistance» tab:

Step 3: Add Your OpenAI API Key
In the OpenAI Config section, paste your OpenAI API Key:
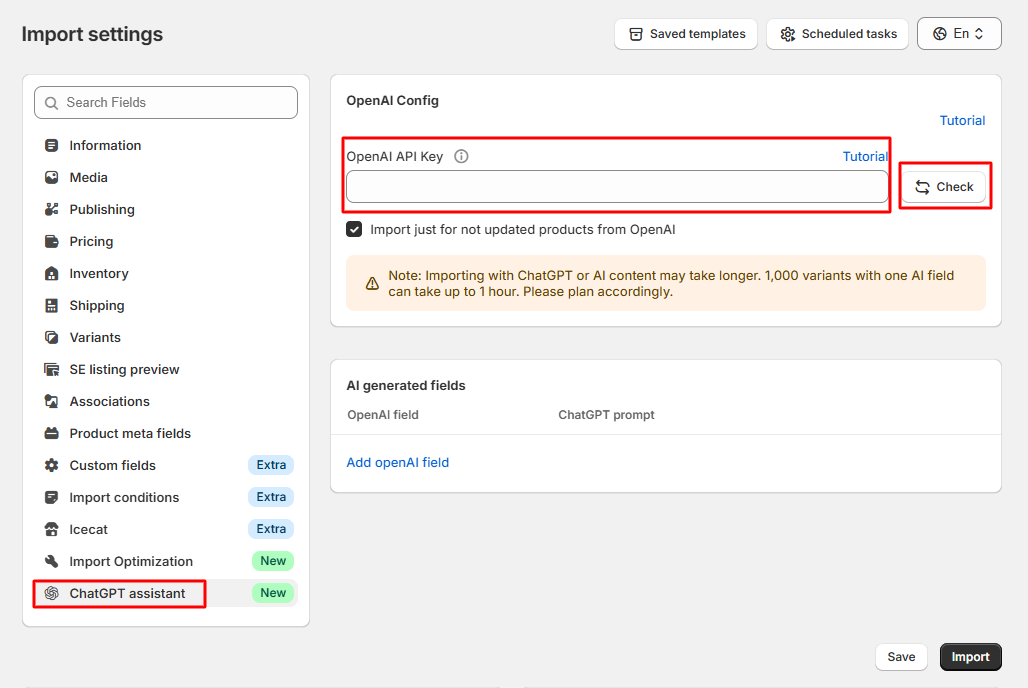
Need help getting your API key? Follow this tutorial.
Step 4: Validate the API Key
Click the «Check» button to verify that your key works correctly:

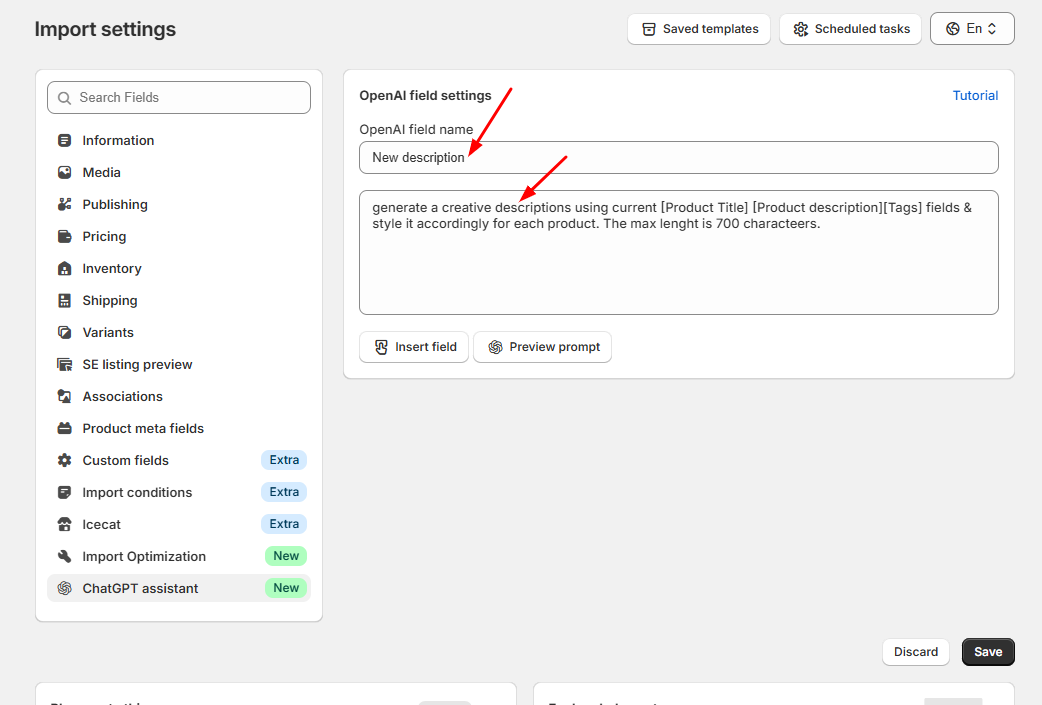
Step 5: Create a New Field for AI Description
Click “Add Field” and create a new field — for example, name it New Description. Then, write your custom prompt for ChatGPT to generate the product description:

Step 6: Use Shortcodes from Your File
You can use the fields from your import file as shortcodes in your prompt — for example, [product_title], [tags], [collections], or [description]. These shortcodes will be replaced with actual data for each product during generation:

Example Prompt
Here’s an example of a well-structured prompt for ChatGPT:
Step 7: Preview the Output
Click the preview button next to your field to see how ChatGPT will generate the description:

ChatGPT will instantly generate a description based on your prompt and product data:

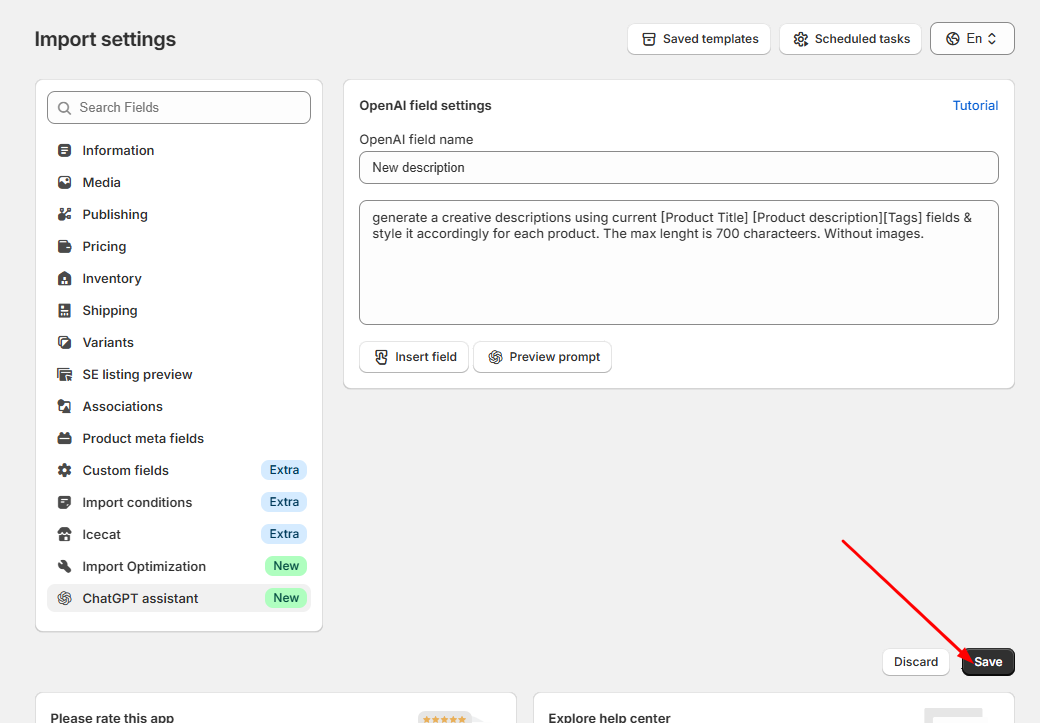
Step 8: Save or Add More AI Fields
If everything looks good, click “Save AI Fields” or add another AI field using the corresponding buttons:
Step 9: Apply the New Description
Go to the «Information» tab and choose your new AI field (for example, New Description) for the Product Description field:

Step 10: Save or Import
You can now save your template for future use or click «Import Now» to start the import process.
That’s it! The Sync Master app will automatically generate and apply unique AI-based product descriptions to your store.
