How to Generate Product Tags During Export Using ChatGPT Assistant
With the ChatGPT Assistant in the Sync Master app, you can automatically generate product tags during export — saving time and improving product organization.
We previously explained how to use ChatGPT Assistant to create tags during imports. You can read that tutorial here.
This feature is especially useful when you have many products without tags or need to expand existing tag sets automatically during the export process.
Step 1: Open the Export Section
Go to the «Export» section and configure your basic export settings:

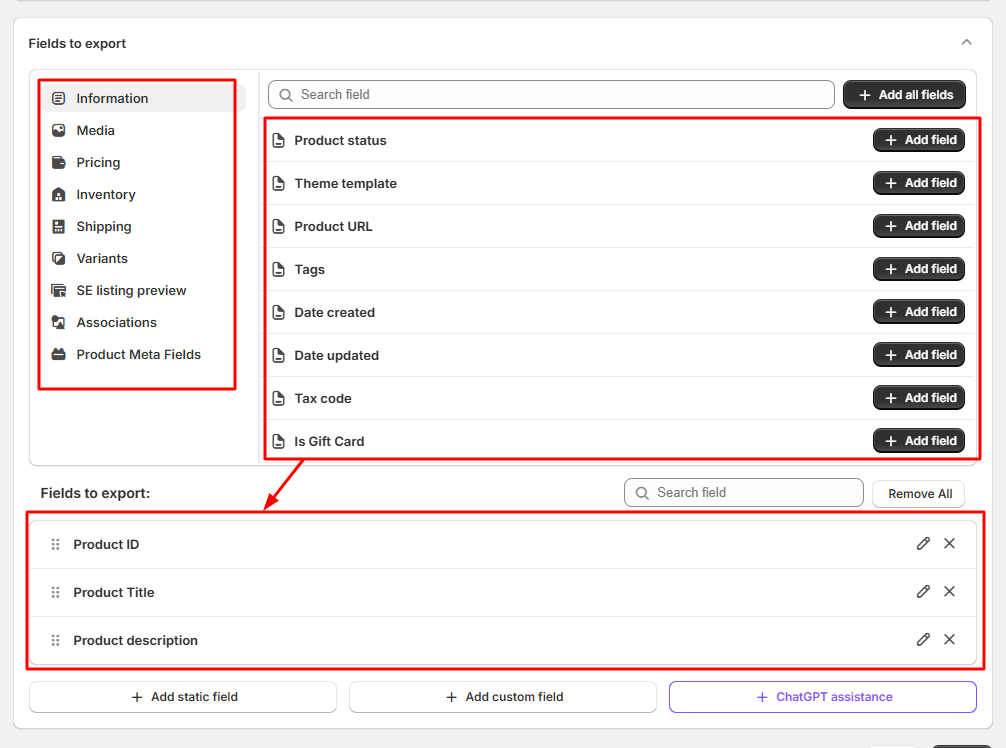
Step 2: Select Fields for Export
Select all the fields you want to include in your export file:
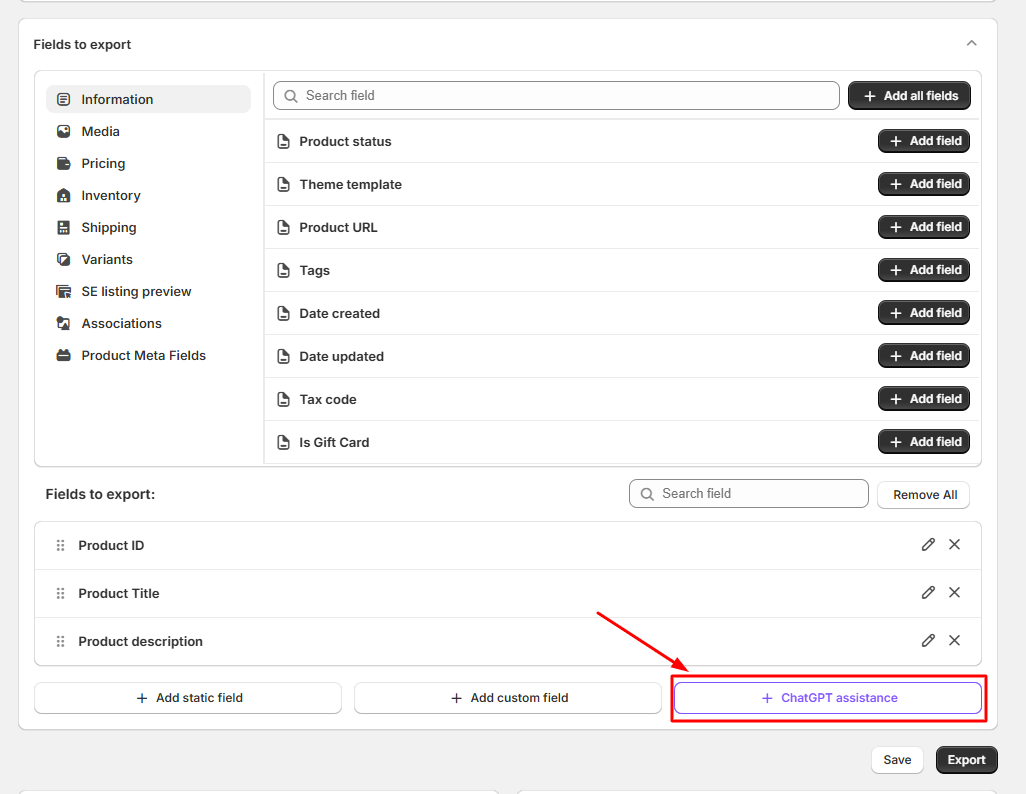
Step 3: Enable ChatGPT Assistance
Click on the «ChatGPT Assistance» button to create a new AI-generated field in your export file:
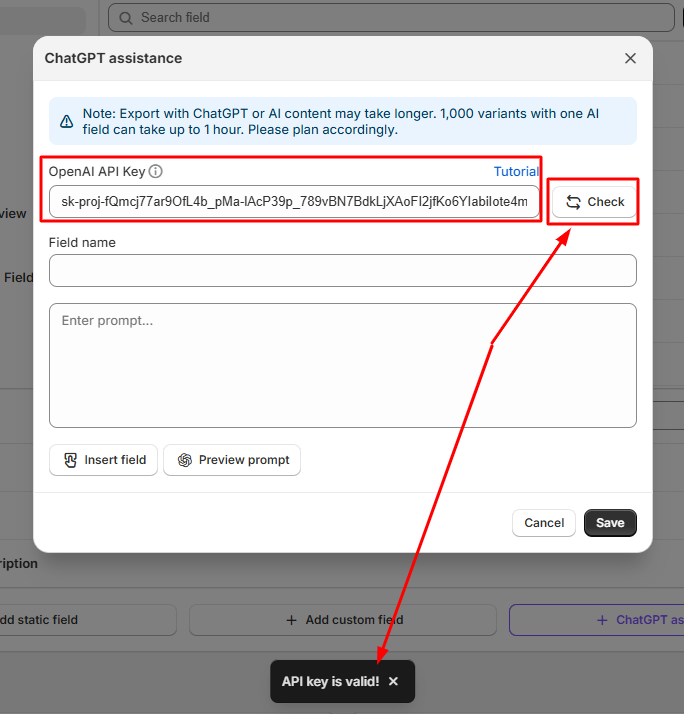
Step 4: Add Your OpenAI API Key
Insert your OpenAI API Key into the appropriate field and click the «Check» button to validate it.
If you don’t have an API key yet, follow this article to create one.
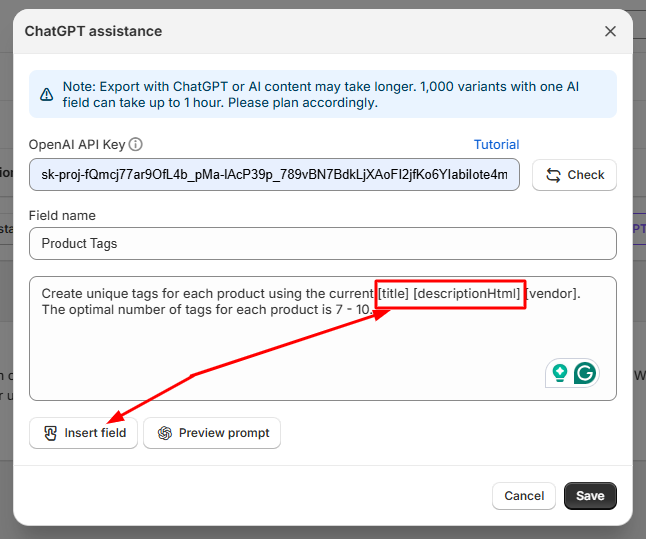
Step 5: Create a New AI Field for Tags
Enter the name of your new field (the one that will appear in the exported file) and write a prompt for ChatGPT to generate tags automatically based on your product data:
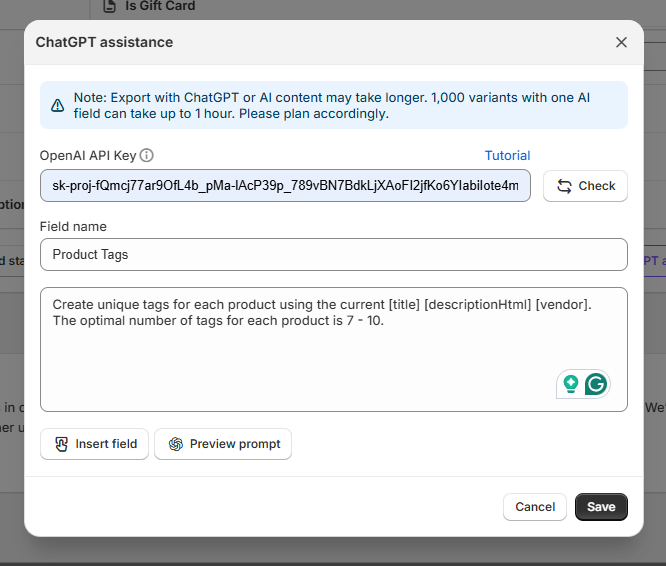
Step 6: Use Shortcodes from Your File
You can use shortcodes to dynamically insert data from your export file into the prompt. For example, include [product_title], [collections], or [description] to help ChatGPT generate relevant and contextual tags:
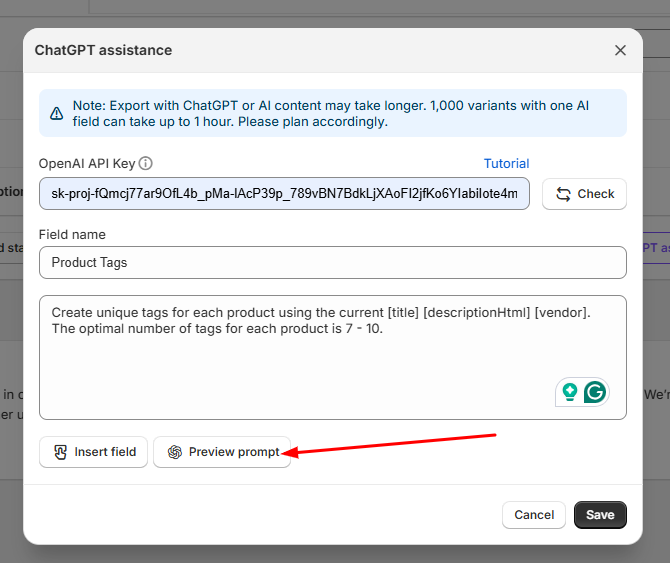
Step 7: Preview the Generated Tags
Click the preview icon next to your created field to test how ChatGPT generates tags for your products:
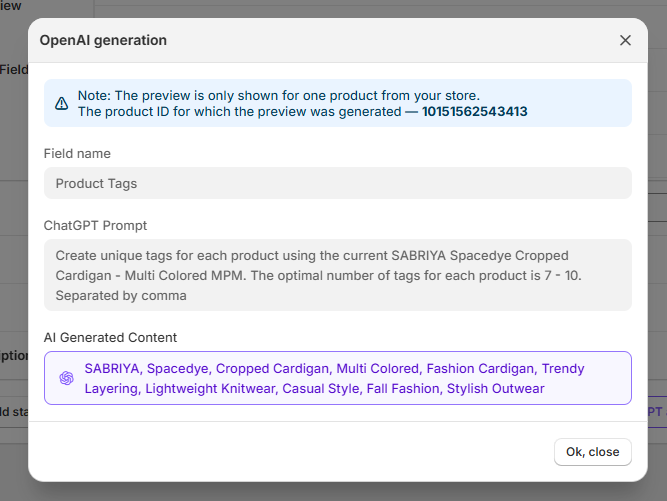
Step 8: Save and Run the Export
Once you’re satisfied with the preview, save the created AI field and click the «Export» button to start the process. Your exported file will include a new column with automatically generated product tags.
That’s it! With ChatGPT Assistant, you can enrich your product data with smart, automatically generated tags directly during export.
