How to Generate Product Translations During Export Using ChatGPT Assistant
With the ChatGPT Assistant in the Sync Master app, you can automatically generate translations for your products without any manual work.
This is especially useful when you have a large catalog of products missing translations or when you want to automatically create localized content during the export process.
We previously described how to use ChatGPT during product imports. You can read more about that here.
Step 1: Open the Export Section
Go to the «Export» section and configure your basic export settings:

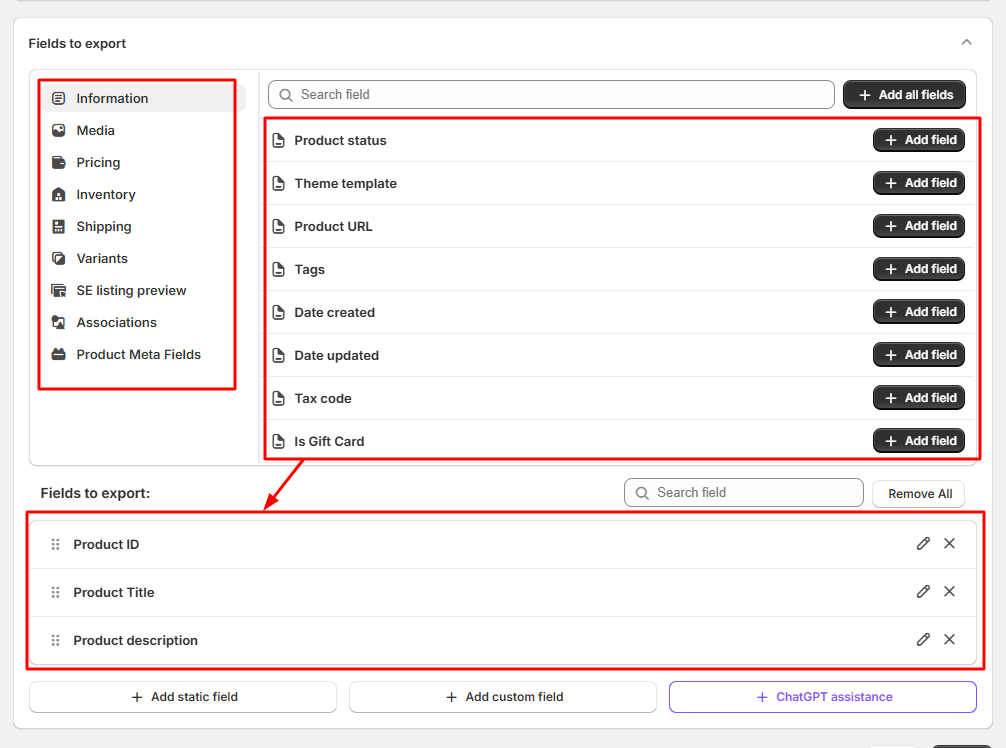
Step 2: Select Fields for Export
Select all the fields you want to include in your export file:
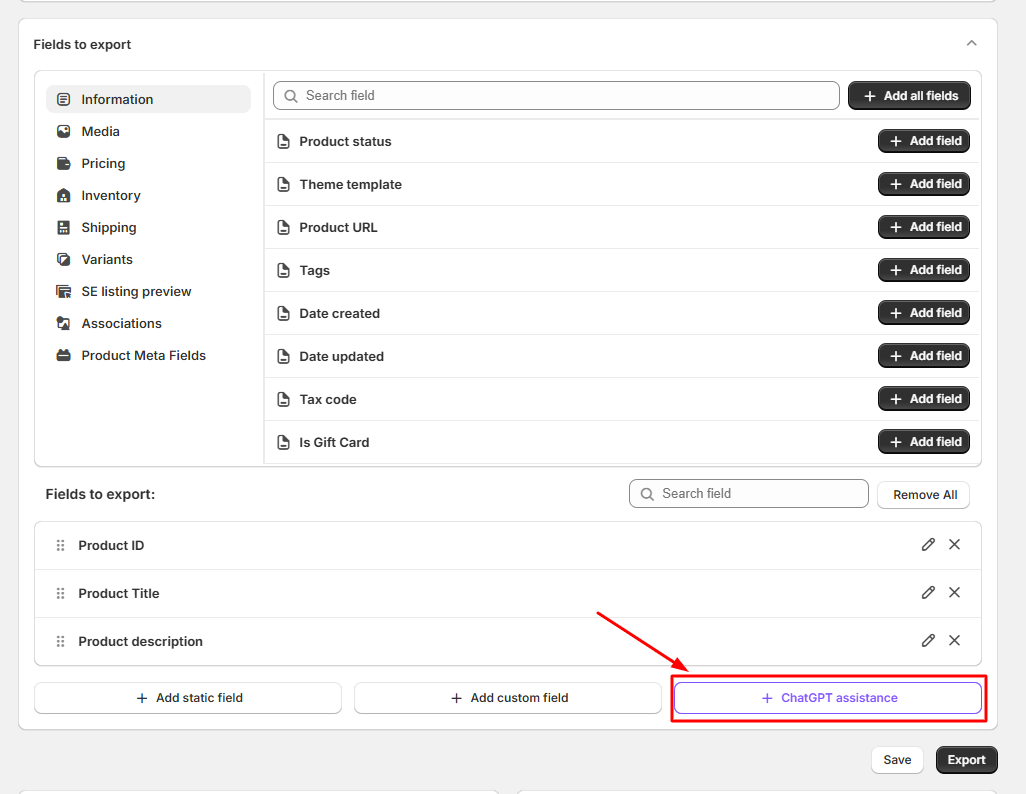
Step 3: Enable ChatGPT Assistance
Click on the «ChatGPT Assistance» button to create a new AI-generated field in your export file:
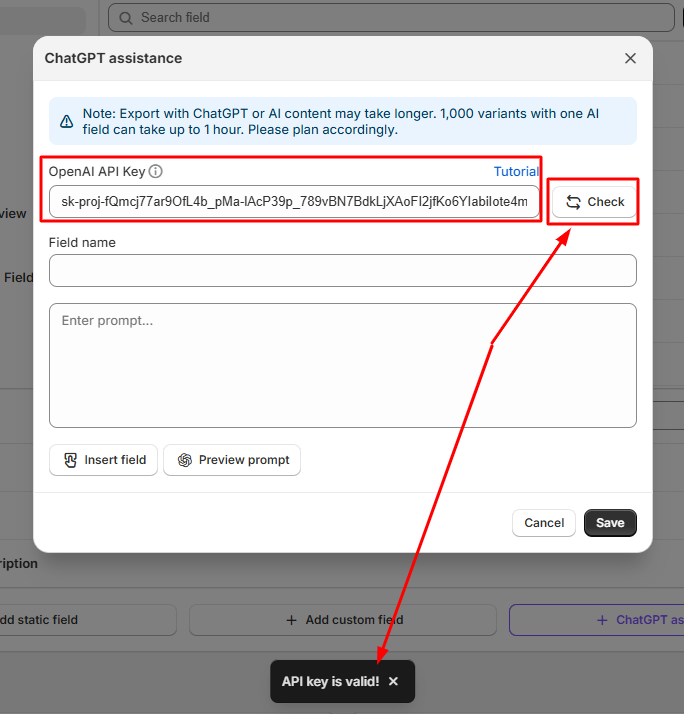
Step 4: Add Your OpenAI API Key
Insert your OpenAI API Key into the appropriate field and click the «Check» button to validate it.
If you don’t have an API key yet, follow this article to create one.
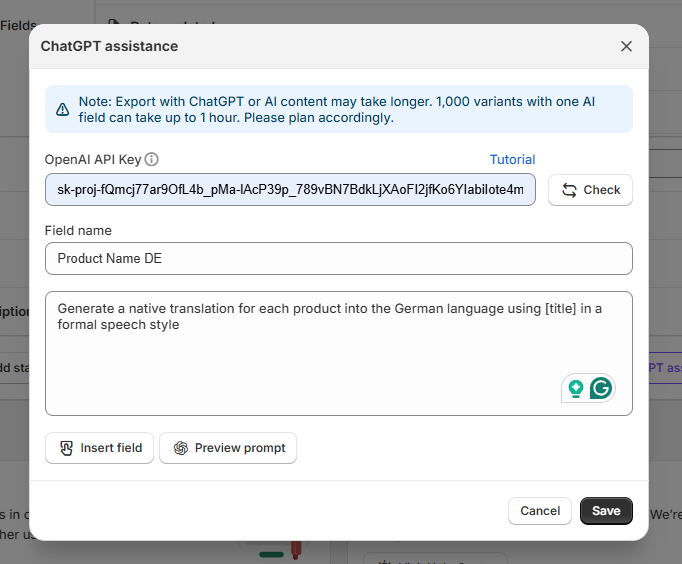
Step 5: Create a New AI Field
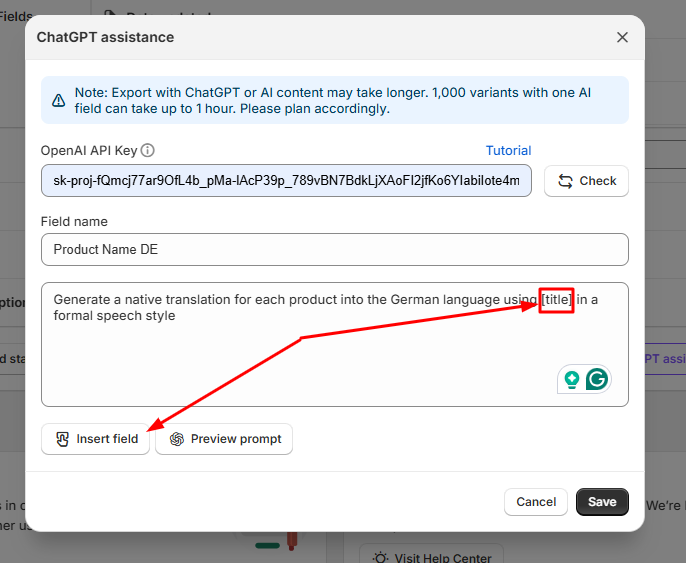
Enter the name of your new field (the one that will appear in the exported file) and write a prompt for ChatGPT to generate the translation. For example, you can ask the model to translate product titles or descriptions into a specific language:
Step 6: Use Shortcodes from Your File
You can use shortcodes to dynamically insert data from your existing fields. For example, to generate translations using your current product name, tags, or description, include the corresponding shortcodes in your prompt:
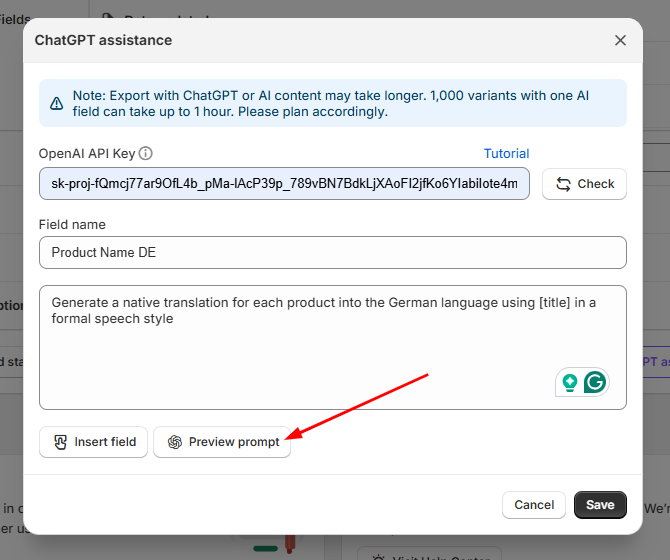
Step 7: Preview the Generated Translation
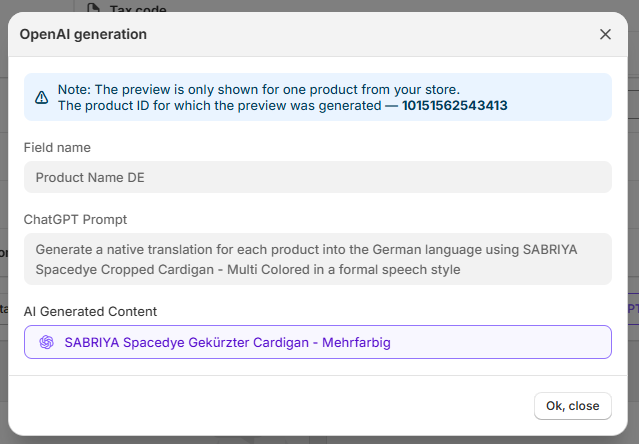
Click the preview icon next to your field to test how ChatGPT generates translations for your products:
ChatGPT will show a sample translation according to your current prompt and data:
Step 8: Save and Run the Export
Once you’re satisfied with the preview, save the created AI field and click the «Export» button to start generating translations. Your exported file will now include the newly created translation column automatically filled by ChatGPT.
That’s it! ChatGPT will automatically generate high-quality translations for your products during export, saving you time and ensuring multilingual consistency.
