How to Transfer Products Between Shopify Stores Using the Sync Master App
In this tutorial, you’ll learn how to transfer products from one Shopify store to another using the Sync Master app. This process involves exporting products from your source store and importing them into your target store.
Step 1: Export Products from the Source Store
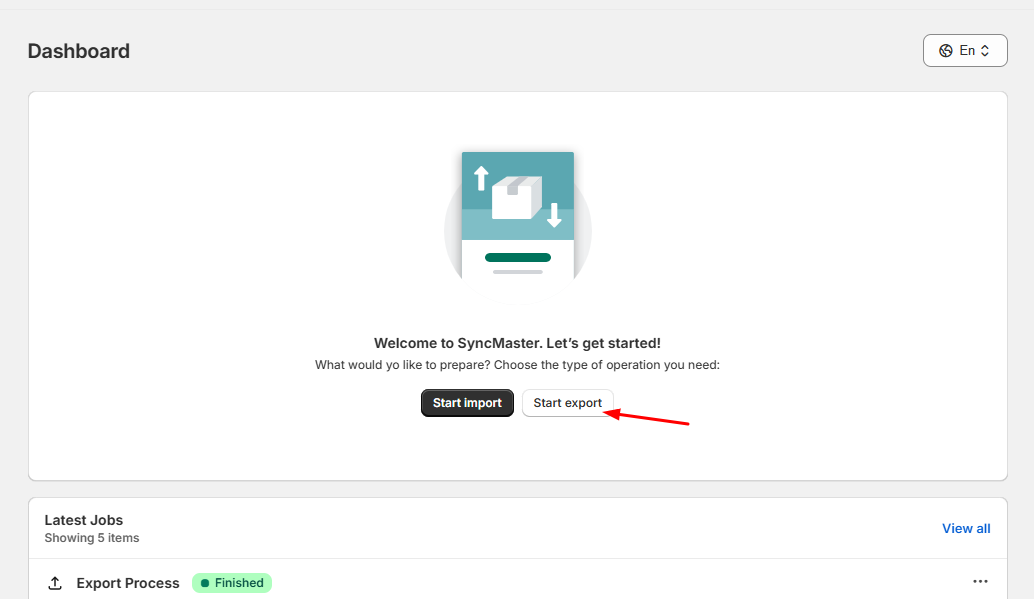
Open the Sync Master app in your source Shopify store and go to the Export section.
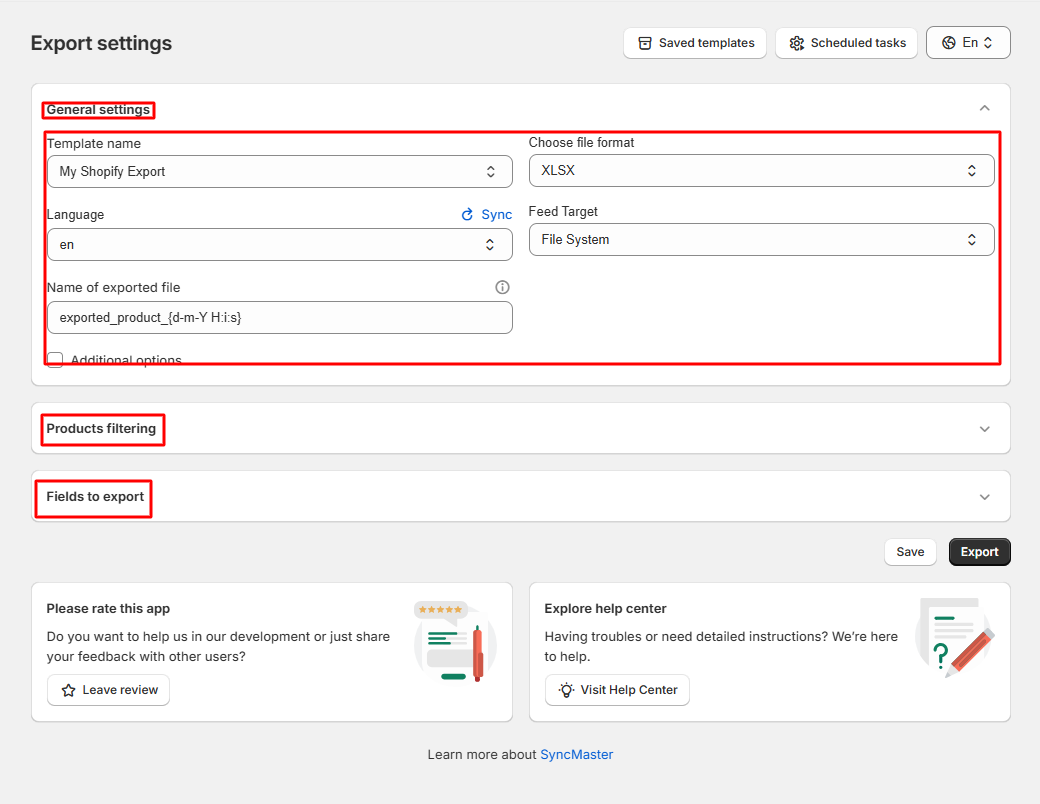
1. Configure General Settings
Go to the General Settings tab and fill in the basic parameters for export:
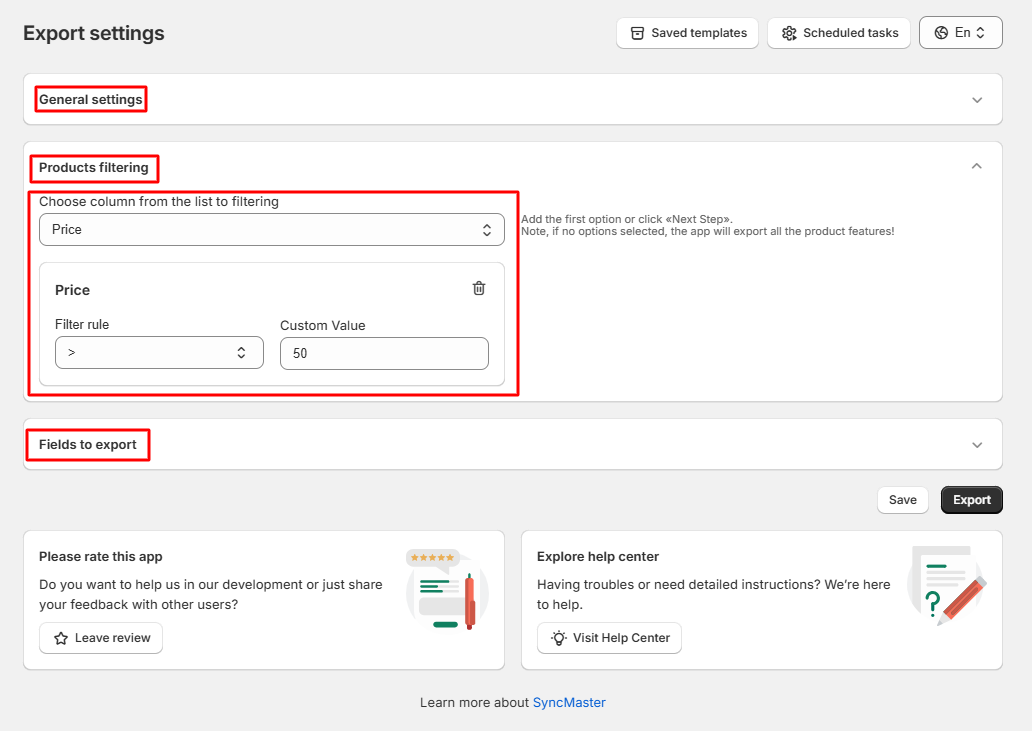
2. Filter Products (Optional)
You can filter products before exporting or skip this step to export all products currently available in your store.
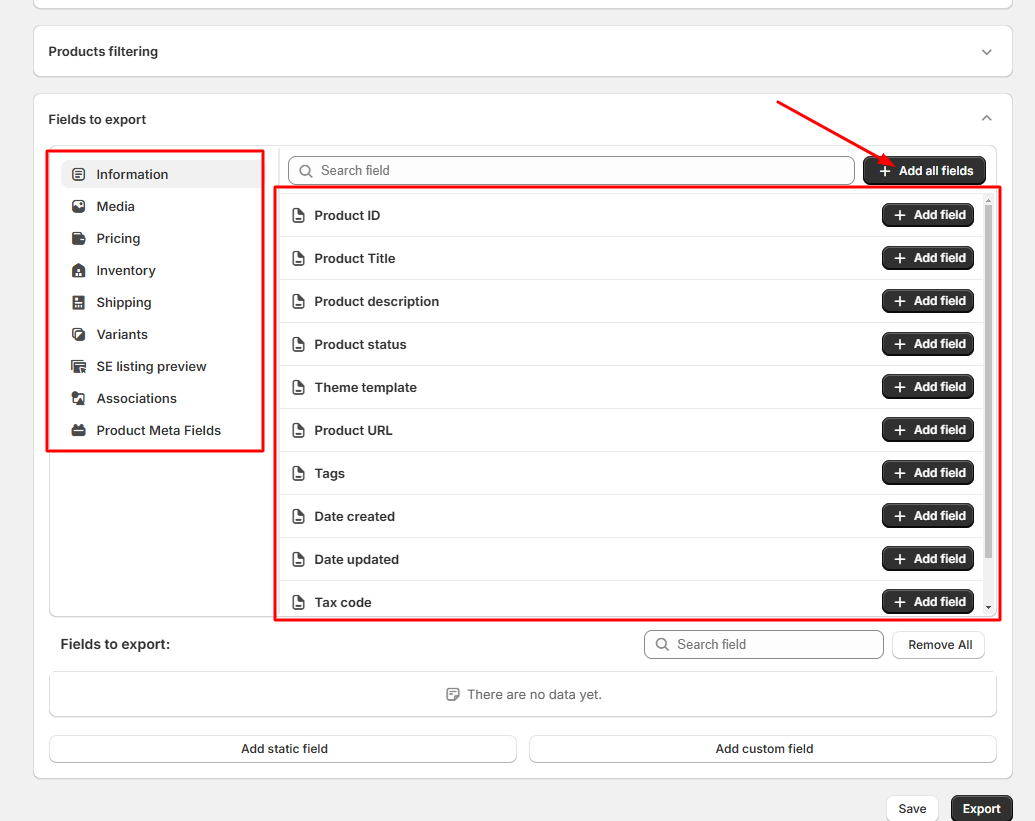
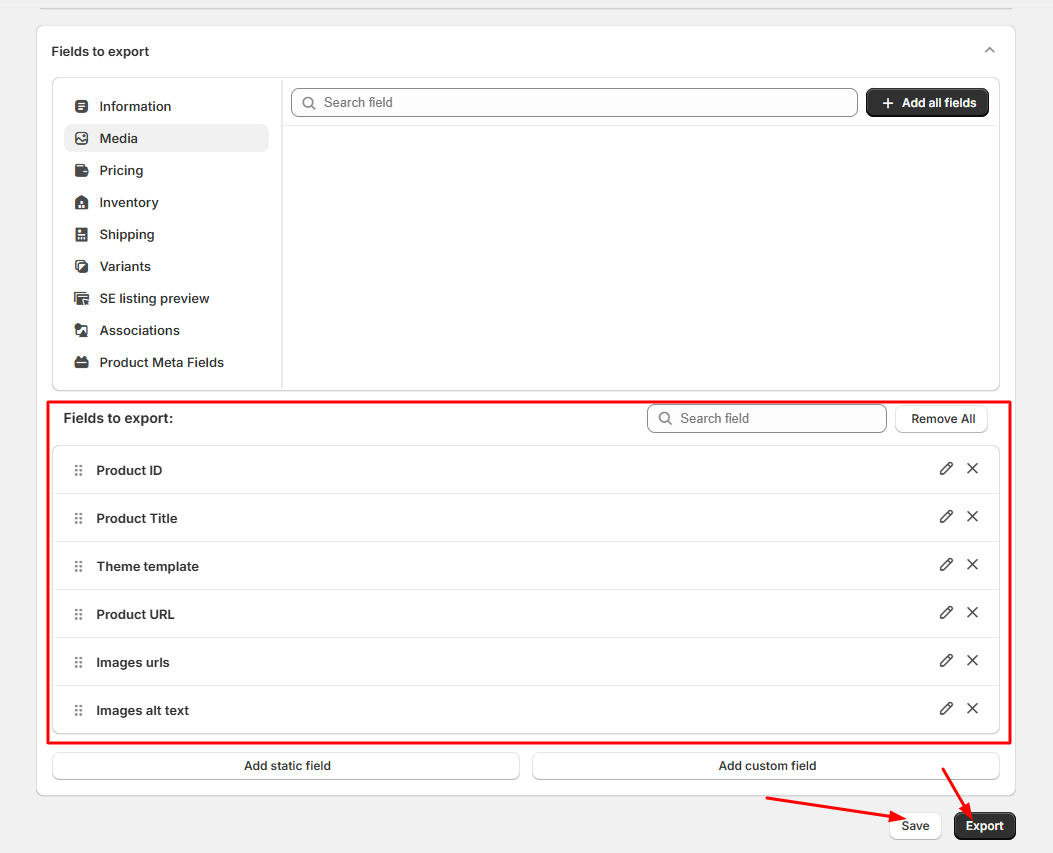
3. Select Fields for Export
In the Fields step, click the Add All Fields button to include all product data such as titles, descriptions, prices, images, variants, etc.
4. Save or Start Export
After selecting fields, click Save Template to reuse these settings later, or click Export Now to begin the export process.
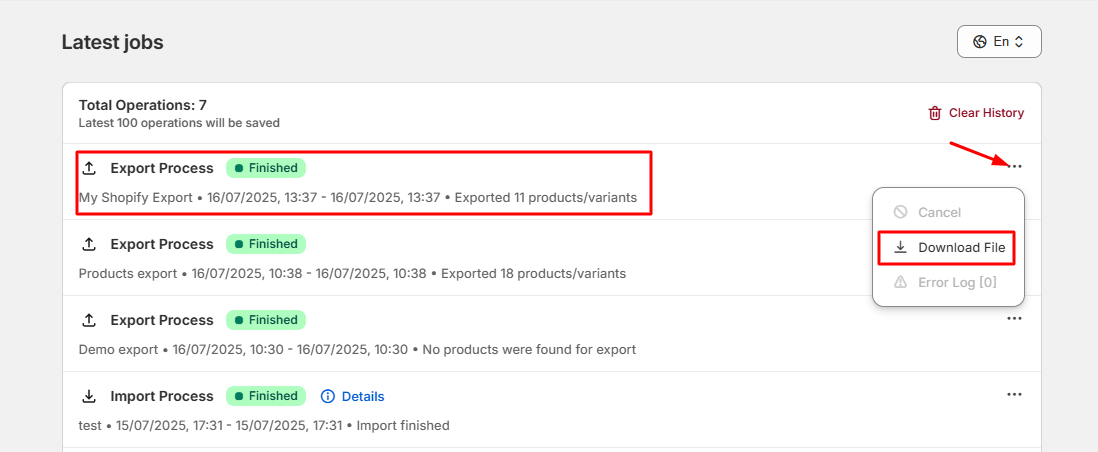
Wait until the process is complete and then download the generated export file:
You can also download a ready-made export configuration template with base fields here: Shopify Export.json
Upload this file into your Sync Master app to quickly configure export settings for future transfers.
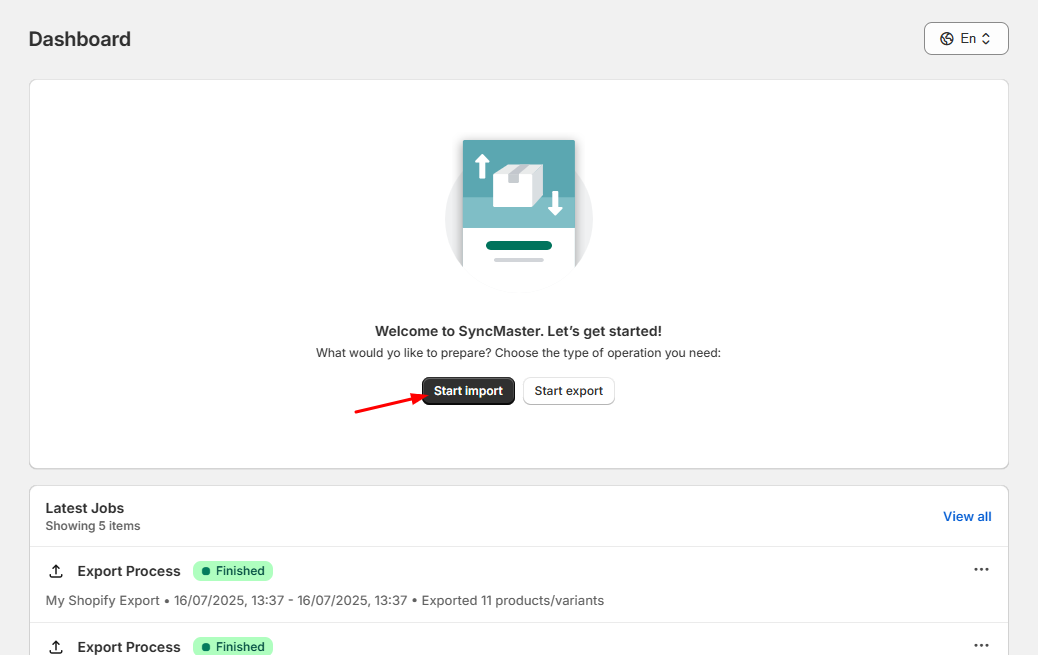
Step 2: Import Products into the Target Store
Open the Sync Master app in your target Shopify store and go to the Import section.
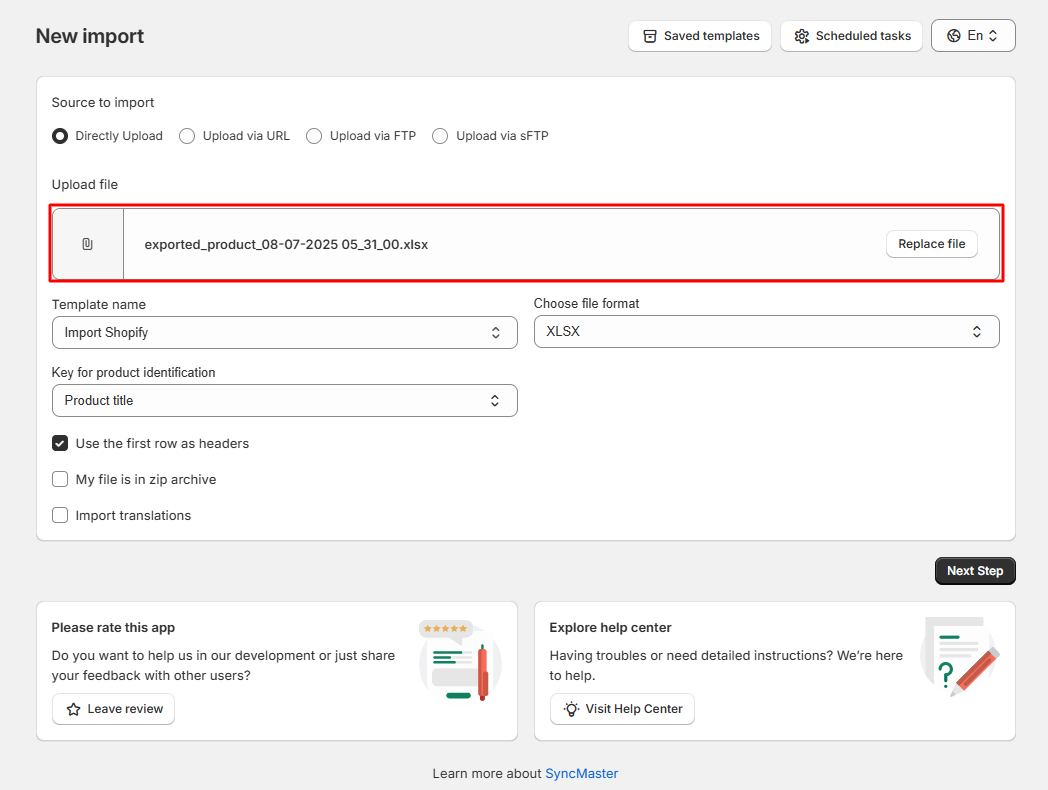
1. Configure Import Settings
In the General Settings tab, upload the previously exported file and click Next Step to proceed.
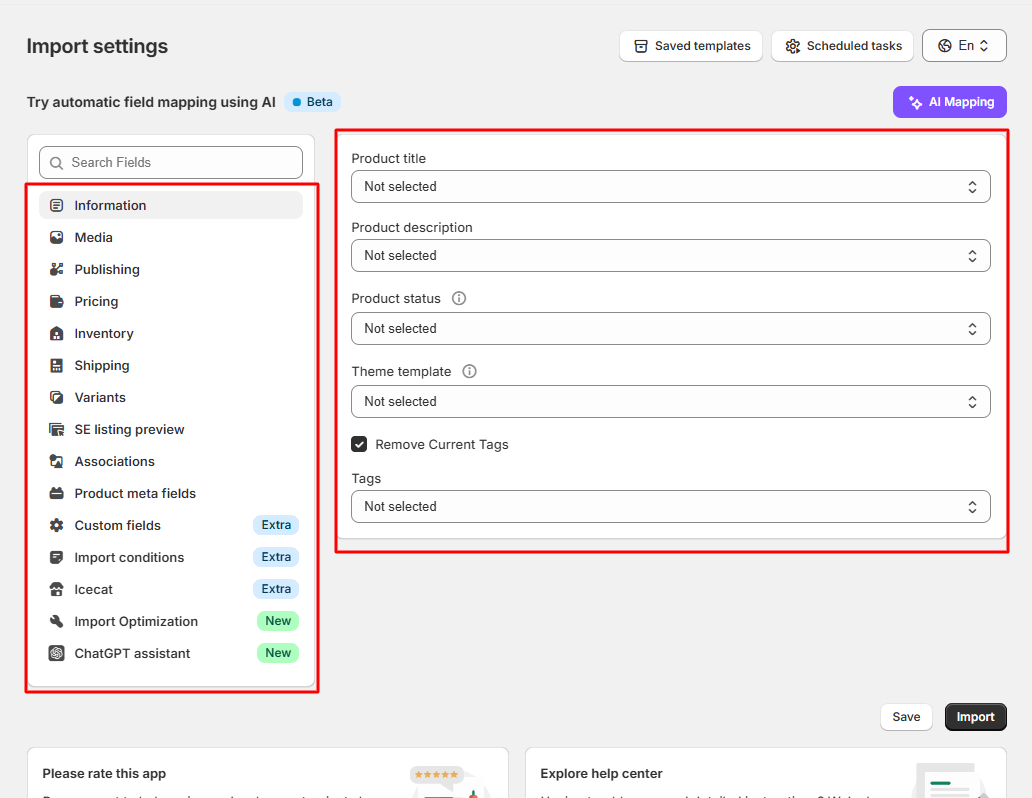
2. Map Fields for Import
Associate (map) the fields from your exported file with the product fields in your new Shopify store. You can manually adjust mappings or load a pre-made import template.
You can download a preconfigured import settings template here: Shopify Import.json
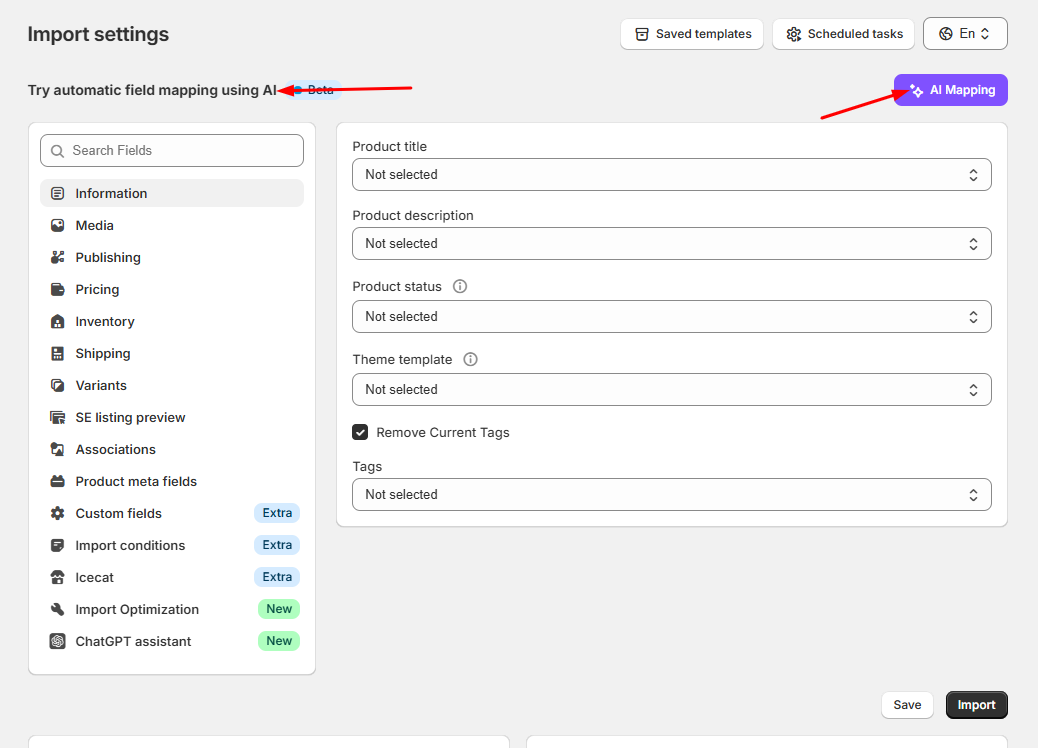
3. Use AI Field Mapping (Optional)
To save time, use the AI Mapping feature to automatically match fields from your file to Shopify product fields. Click the AI Mapping button and let the system detect field matches automatically.
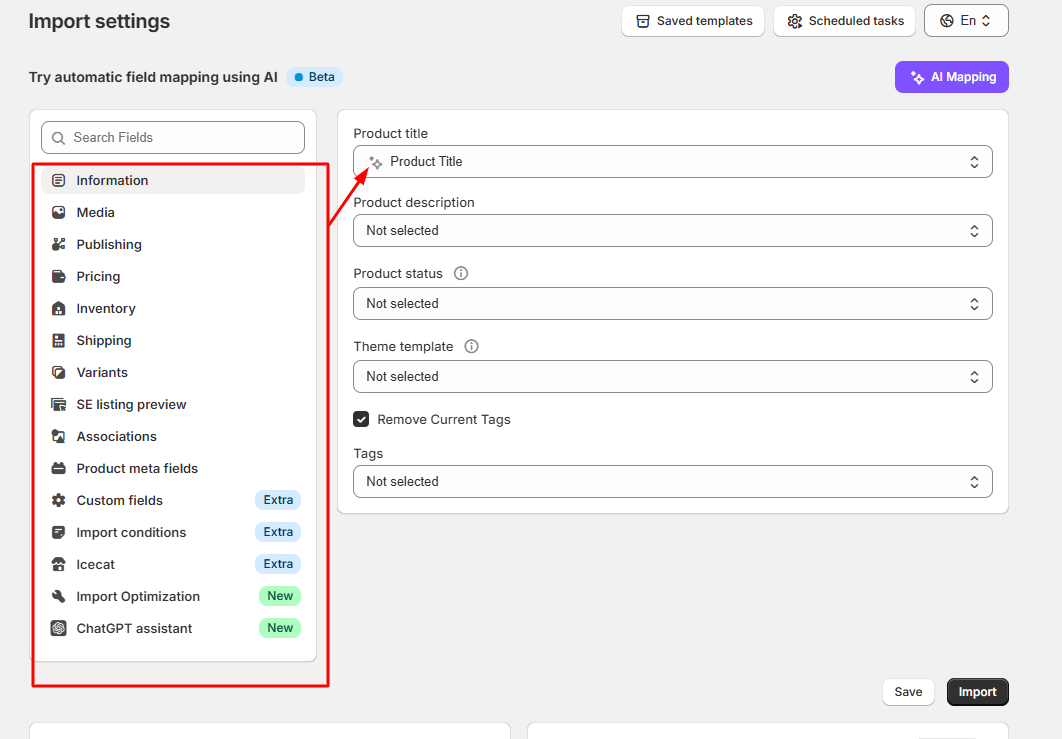
After automatic mapping, matched fields will be highlighted in all applicable sections:
Pelase check automatic mapped fields to sure that it was mapped correctly.
4. Start Import
Once the fields are mapped, click Import Now to begin transferring products to your new store.
That’s it! The Sync Master app will handle the rest — exporting, mapping, and importing your products between stores seamlessly.
